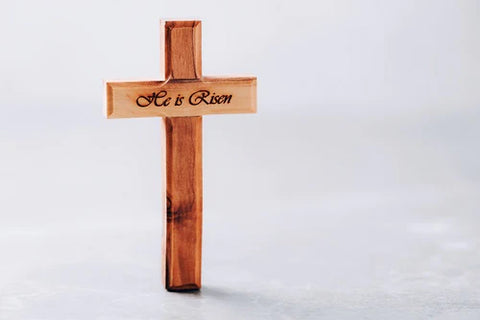
Creative Laser Engraving: How to Make a Wooden Cross for Easter
Welcome to our creative laser engraving and cutting tutorial! During this special Easter and Holy Week season, we will explore how to make a beautiful wooden cross using an OMTech laser engraver to commemorate the sacrifice and resurrection of Jesus. Let's get started!
Step 1: Preparation
Before you begin, make sure you have a laser engraving and cutting machine and suitable materials for engraving wood. Choose a good quality block of wood and ensure the surface is smooth for the best results.
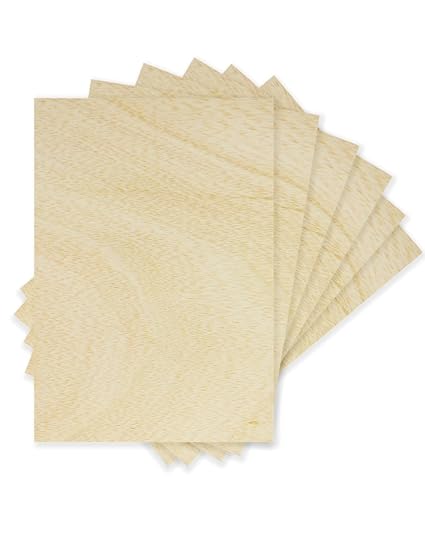
Required Materials:
Wooden board
Plywood
Size, 600mmx400mm
Thickness, 2mm.
Required laser engraving and cutting machine
100W CO2 Laser Engraving and Cutting Machine with Working Area of 700x500mm | Max-750
- Power 100w
- Auto Focus
- Aluminum grid table or honeycomb cutting support
Of course, it can also be done with another machine from the Turbo and Max laser engraver series. Adjust the parameter settings according to your laser cutting machine.
Necessary accessories
Step 2: Import the design using Lightburn
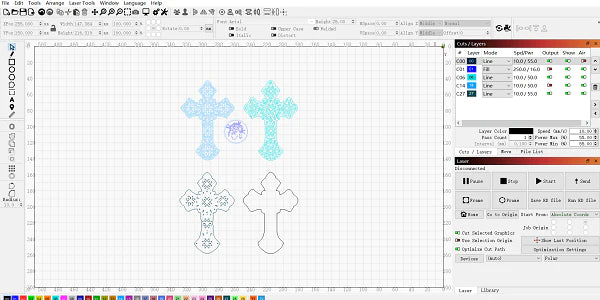
Create your own design or use our template. You can download the free SVG design, Wooden Cross of Jesus Here, Then open your Lightburn application to use it directly.
Step 3: Engraving and cutting process of wood with laser engraver
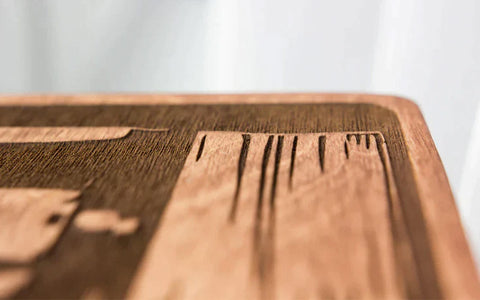
Now place the plywood board on the laser engraver cutting table. Cover the remaining processing area well to achieve optimal vacuum and therefore a uniform laser result. Adjust the speed and power parameters in Lightburn corresponding to the colors, and select the Mode as shown in the photos.
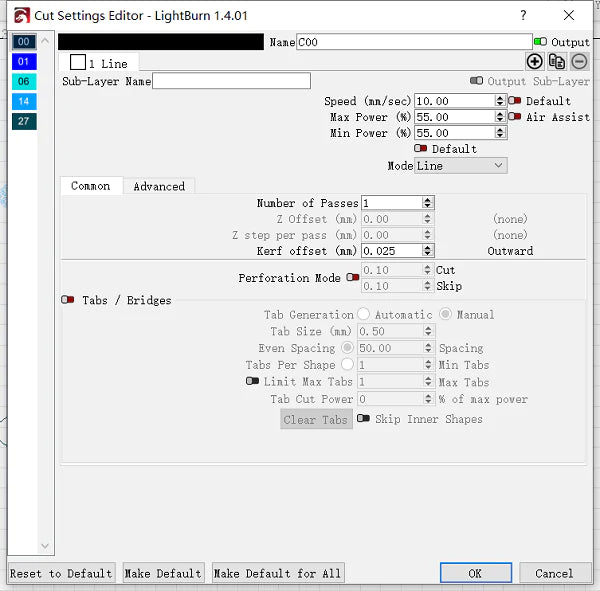
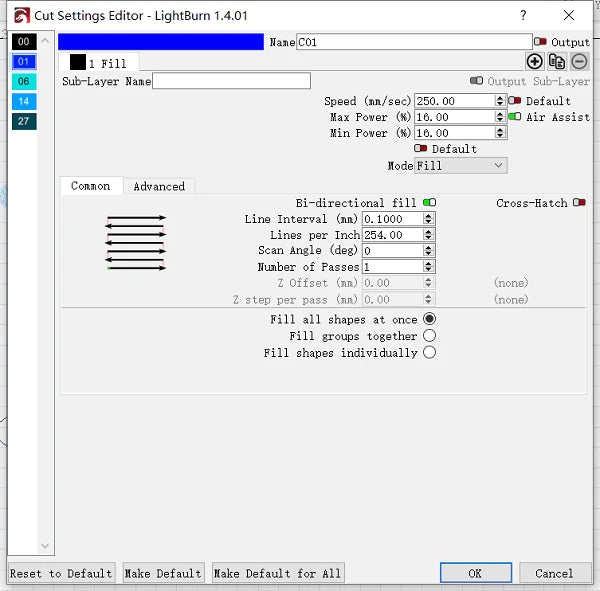
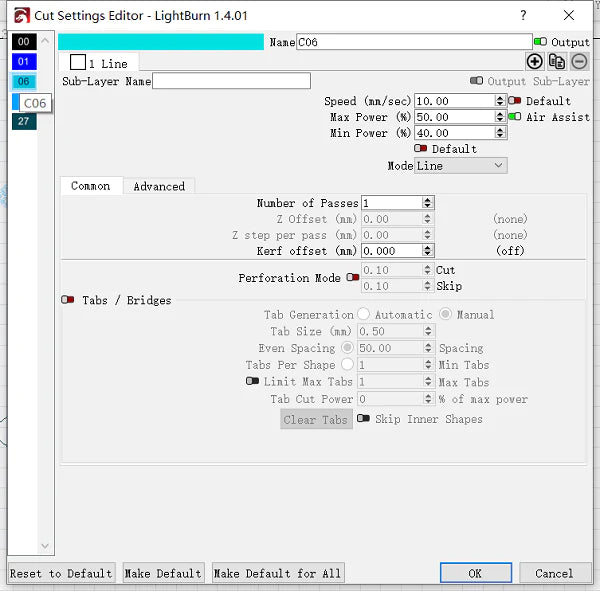
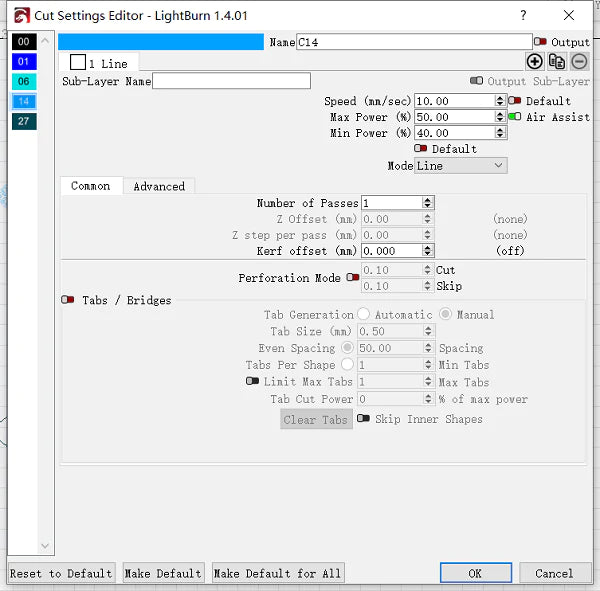
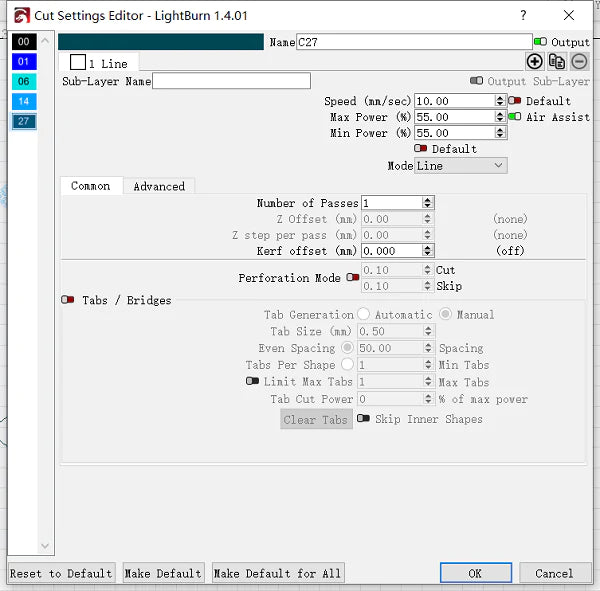
If necessary, you also have the option to adjust the parameters individually. The suggested parameters may vary depending on the laser engraving machine used and the available laser power. Close the laser cutter, make all necessary adjustments, and start the laser engraving and cutting process.
Step 4: Assembly
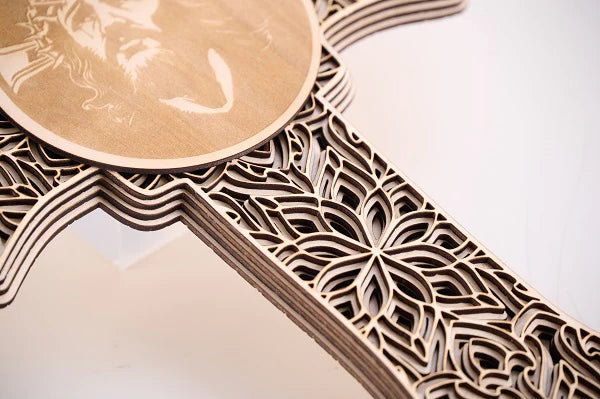
If necessary, carefully clean the cut pieces with a slightly damp soft cloth. Then, each layer of laser-engraved boards is glued and placed on a flat surface, and after waiting for the glue to dry, the Easter Jesus cross made with the laser engraving machine is complete.
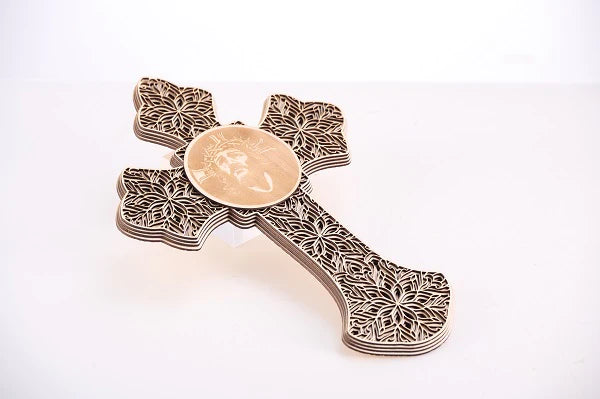
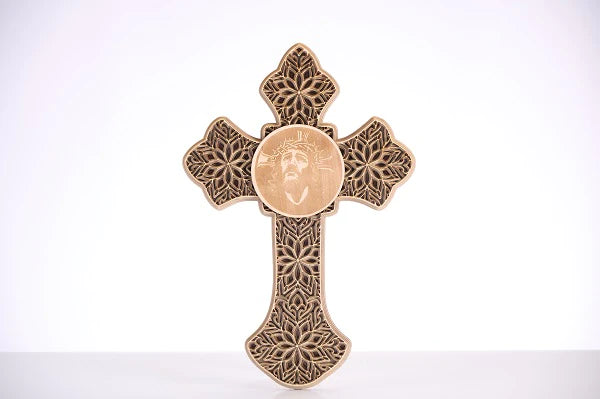
Conclusion
For the carving of the round middle board, you can choose your favorite pattern or design, or not only can you engrave the pattern of Jesus on it, but also reflect more elements of Easter or Holy Week carving on it. You can also adjust the laser cutting size according to your needs.
Related Articles
